How to Make a WordPress Website in 2025: The Ultimate Beginner’s Guide
Ever dreamed of starting your own blog, online store, or professional portfolio? If you’ve felt that spark of an idea but were stopped by the technical side of things, you’ve come to the right place. Let’s get one thing straight right away: building a website in 2025 is easier than you think, and you absolutely do not need to know how to code.
Welcome to your ultimate, step-by-step guide. We’re going to walk through this process together, and I promise to keep it simple, clear, and jargon-free.
To get started, you only need three core components:
- A Domain Name: Think of this as your website’s street address (e.g.,
www.myawesomeblog.com). - Web Hosting: This is the plot of land on the internet where your website will live.
- WordPress: This is the powerful and free software you’ll use to build your house (your website) on that plot of land.
By the end of this guide, you will have a live, functioning WordPress website ready to share with the world. Let’s get started!
Step 1: The Foundation – Choosing the Right Tools
Before we buy anything, it’s crucial to understand the tools we’re going to use. Getting this part right sets you up for long-term success and saves you from future headaches.
Why WordPress.org? The Only Choice for Real Control
The first thing you’ll discover is that there are two versions of “WordPress,” which can be confusing. Let’s clear that up right now.
- WordPress.com: This is a for-profit service that uses the WordPress software. It’s like renting a furnished apartment. It’s easy to start, but you have strict rules. You can’t customize much, you can’t run ads on many plans, and they place their own ads on your site. It’s simple, but very limiting.
- WordPress.org: This is the real deal. It’s the free, open-source software that anyone can download and use. This is like owning your own house. You have complete freedom and 100% control to design it, customize it, and do whatever you want with it—like run an online store, a membership site, or monetize it with ads.
For true ownership and unlimited potential, WordPress.org is the only way to go. This guide focuses exclusively on this self-hosted version. For a full breakdown, check out our guide on WordPress.org vs. WordPress.com.
What is a Domain Name?
A domain name is your unique address on the internet. It’s what people type into their browser to find you. Our domain name is RankThatHost.com. It’s your digital identity, so it’s important to pick a good one!
You register a domain name through a company called a “domain registrar.” To learn everything you need to know, read our comprehensive guide to domain names.
What is Web Hosting?
If your domain is the address, web hosting is the physical plot of land where your website’s files, images, and content are stored. When someone types your domain into their browser, the browser connects to your web hosting server to display your website.
For beginners, we strongly recommend Shared Hosting. It’s the most affordable option because you are sharing space on a server with other websites. The hosting company manages all the technical maintenance, making it perfect for those just starting out. We cover this in more detail in our web hosting for beginners guide.
Step 2: Get Your Domain and Hosting
Now it’s time for the exciting part—claiming your piece of the internet!
Part A: Registering Your Domain Name
Choosing the right domain is important. Here are a few tips:
- Make it memorable: It should be easy to say and spell.
- Keep it relevant: Try to include a keyword related to your topic if it sounds natural.
- Go for
.com: It’s the most recognized and trusted domain extension. If it’s not available,.netor.orgare good alternatives.
While you can often get a domain from your hosting provider, we recommend buying it from a dedicated domain registrar. This gives you more control, as your domain registration is kept separate from your hosting. We use and are fairly happy with Namecheap for their fair pricing and easy-to-use platform.
Part B: Choosing Your Web Host
Your web host is the single most important factor for your website’s performance. A slow, unreliable host will drive visitors away. A fast, secure host will keep them happy and help you rank better in Google.
For beginners, we recommend the shared hosting from VeeroTech. It’s the same host we use for RankThatHost because of their fantastic speed, reliability, and top-notch customer support that is always ready to help. They provide a perfect balance of performance and affordability.
As a solid alternative, another option worth considering is NixiHost, which also has a great reputation for quality support and fair pricing.
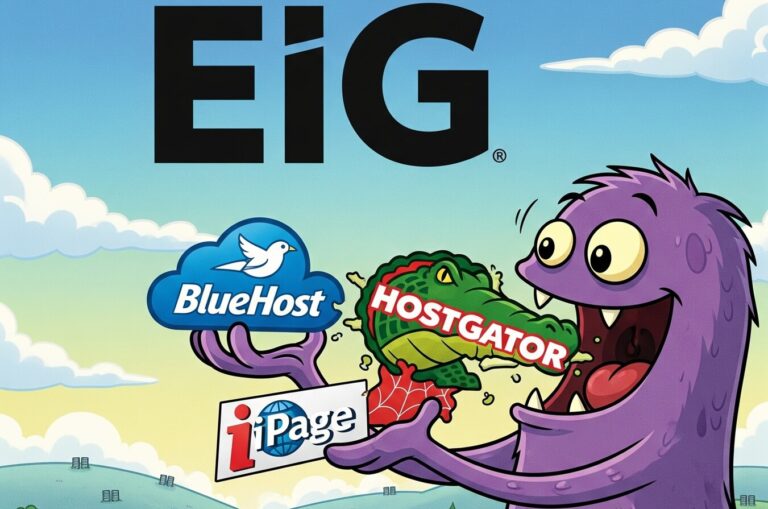
For web hosts, we highly recommend staying away from EIG companies. If you aren’t sure what that is, you may google EIG hosting for more information, or refer to this article by DigitalFAQ: Hostgator Alternatives EIG Part 1
Pro-Tip: To save money, many hosting plans (including the ones from VeeroTech) offer a free domain name for the first year when you sign up. For absolute simplicity, getting your hosting and free domain from the same place is a fantastic way to start!
Step 3: Installing WordPress (The Easy Way)
Forget any thoughts of complicated code or manual file uploads. In 2025, installing WordPress is as easy as clicking a button.
Most quality hosts, including VeeroTech, use a control panel called cPanel. Inside cPanel, you’ll find an auto-installer tool, often called Softaculous. This tool automates the entire WordPress installation process.
Here’s the general process:
- Log in to your web hosting account.
- Navigate to your cPanel (your host will send you a link).
- Look for an icon that says “WordPress” or “Softaculous Apps Installer.”
- Click “Install Now” under the WordPress option.
- Fill in a few simple details:
- Choose Domain: Select the domain name you just registered.
- Site Name & Description: You can change these later.
- Admin Username & Password: Choose a strong, unique username (avoid “admin”) and a secure password. Write these down!
- Admin Email: Use your primary email address.
- Click the “Install” button.
That’s it! In less than a minute, the installer will set up WordPress for you. See? We told you it was easy.
Step 4: Exploring Your WordPress Dashboard
Congratulations! You now have a blank WordPress website. To start customizing it, you need to log in to your control center, known as the WordPress Dashboard.
You can access it by going to yourdomain.com/wp-admin.
Use the admin username and password you created during the installation step to log in.
Once inside, it might look a little overwhelming, but you only need to know a few key areas to begin:
- Dashboard: This is your homepage. It gives you a quick overview of your site.
- Posts vs. Pages: This is a crucial concept.
- Posts are for timely content like blog articles. They are shown in reverse-chronological order.
- Pages are for static, “evergreen” content that doesn’t change often, like your “About,” “Contact,” or “Services” pages.
- Appearance > Themes: This is where you control your website’s overall design and layout.
- Plugins: This is where you add new features and functionality to your site.
- Settings: This is where you configure your site’s basic information, like your site title, tagline, and URL structure.
Take a few minutes to click around, but don’t feel like you need to understand everything at once. We’ll tackle the most important parts next.
Step 5: Designing Your Website (Choosing a Theme)
A WordPress theme is a design template that controls the look and feel of your website. With a single click, you can completely change your site’s layout, colors, and typography.
There are thousands of free and premium (paid) themes available. When you’re starting out, a free theme is more than enough.
Here’s how to install a new theme:
- In your WordPress dashboard, navigate to Appearance > Themes.
- Click the “Add New” button at the top.
- You can now browse thousands of free themes. You can use the search bar to look for specific features or layouts (e.g., “minimalist,” “blog,” “portfolio”).
- Hover over a theme you like and click “Install.”
- After it’s installed, click “Activate.”
Your website’s design has now completely changed!
Recommended Free Themes for Beginners: For a powerful and easy-to-use starting point, we recommend searching for one of these popular, flexible themes: Astra, Kadence, or Blocksy.
Step 6: Adding Functionality (Essential Plugins)
If a theme is your website’s design, plugins are the apps that add new features. Think of your website as a smartphone—plugins are the apps you install to make it do cool things. You can use them for everything from contact forms and photo galleries to security and online stores.
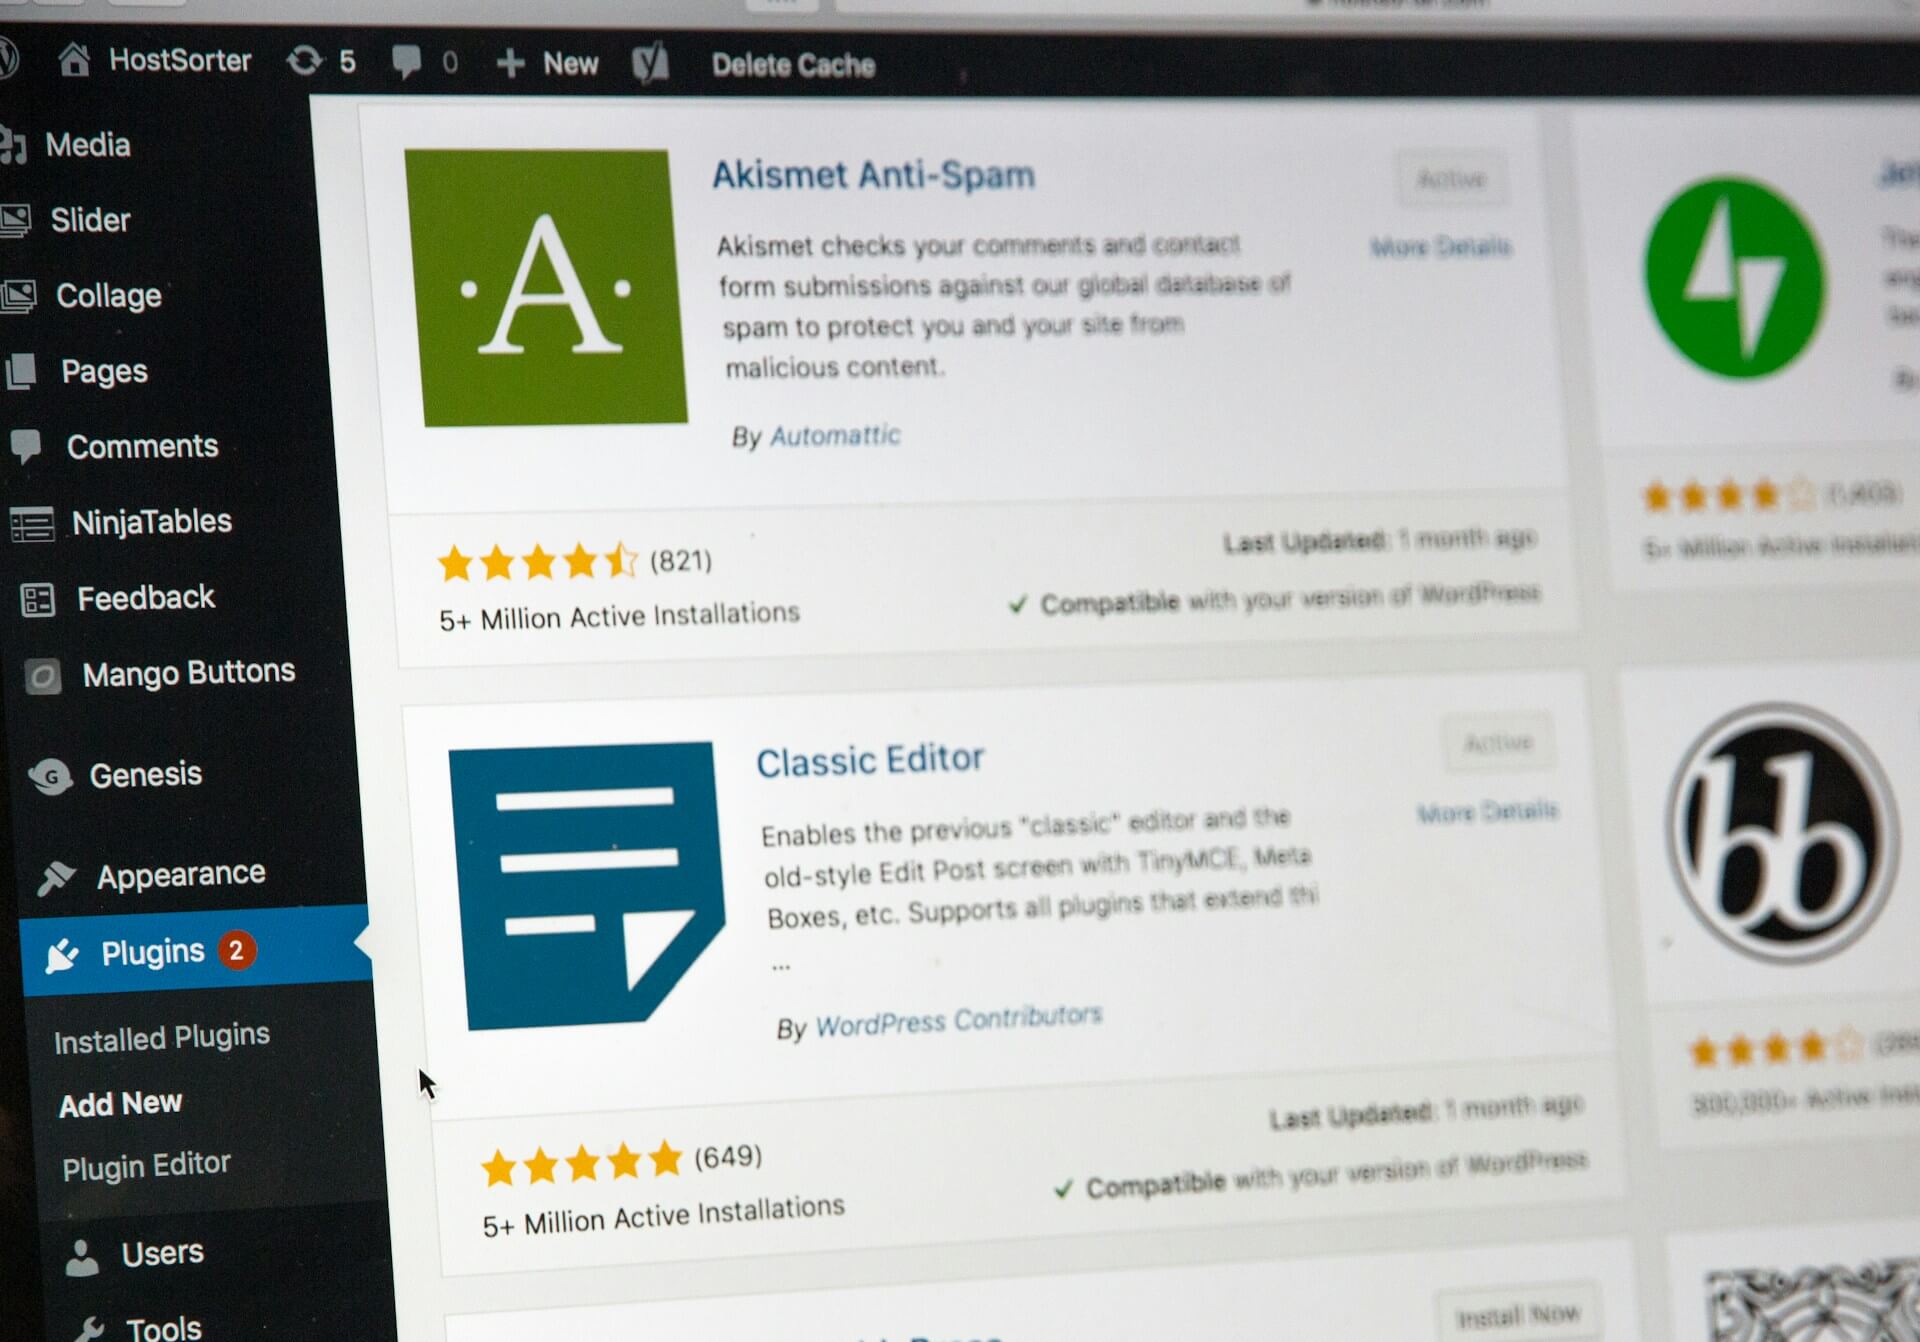
Here are 4 essential plugins every beginner should install. To add them, go to Plugins > Add New in your dashboard, search for the name, and click “Install” and then “Activate.”
- SEO Plugin (Yoast SEO or Rank Math): Search Engine Optimization (SEO) helps your site get found on Google. These plugins guide you on how to optimize your pages and posts for search engines.
- Contact Form Plugin (WPForms Lite): You need an easy way for visitors to contact you. WPForms has a simple drag-and-drop builder to create a contact form in minutes.
- Caching Plugin (LiteSpeed Cache): A caching plugin dramatically speeds up your website. If you hosted with VeeroTech, their servers are built for LiteSpeed, so installing the LiteSpeed Cache plugin will give you a massive performance boost right out of the box.
Step 7: Creating Your Core Content
Your website is now set up and looking good! The final step is to add your content. We recommend starting with two essential pages and your first blog post.
How to Create an “About” Page
- Go to Pages > Add New.
- Give your page a title, like “About Us” or “About Me.”
- In the main content block, write a little about yourself, your business, or your project.
- Click the “Publish” button.
How to Create a “Contact” Page
- First, go to the WPForms plugin settings and create a simple contact form (it’s very intuitive!). Save the form and copy its “shortcode.”
- Now, go to Pages > Add New.
- Title the page “Contact.”
- In the content area, paste the shortcode you copied from WPForms.
- Click “Publish.”
How to Write Your First Blog Post
- Go to Posts > Add New.
- Add a compelling title.
- Write your content in the main editor block. You can add images, headings, and lists using the “+” icon.
- When you’re ready, hit “Publish” to make it live!
You Did It! What’s Next?
Congratulations! You have successfully built your very own WordPress website from scratch. Take a moment to appreciate what you’ve accomplished. You went from zero to a live, functioning website.
You’ve learned how to:
- Secure a domain name and web hosting.
- Install and configure WordPress.
- Choose a design (theme) and add features (plugins).
- Create your first pages and posts.
This is just the beginning of your journey. The beauty of WordPress is that there’s always more to learn and explore. Keep experimenting, keep creating, and don’t be afraid to try new things.
We’d love to see what you’ve created! Drop a link to your new website in the comments below 🙂