7 Easy Steps to Make Your First Website
Creating your first website doesn’t have to be complicated or expensive. Follow these seven straightforward steps to get your site online and start building your digital presence today.
Disclosure: This article contains affiliate links. If you purchase through these links, we may earn a commission at no extra cost to you. We only recommend hosting services we believe offer genuine value to beginners.
Step 1: Choose Your Website’s Purpose and Plan Your Content
Before touching any technical tools, decide what your website will accomplish. Are you starting a personal blog, creating a business website, showcasing your portfolio, or building an online store? Having a clear purpose guides every other decision you’ll make.
Write down the main pages you’ll need. Most websites benefit from a home page, about page, and contact page as starting points. If you’re blogging, plan your first few post topics. For business sites, consider service pages or product showcases. Don’t overthink this step – you can always add more pages later, but having a roadmap prevents you from feeling overwhelmed during the building process.
Consider your target audience and what they’ll want to find when they visit your site. This understanding shapes your content tone, design choices, and functionality needs.
Step 2: Select Your Domain Name
Your domain name is your website’s address on the internet, so choose something memorable and relevant to your purpose. Keep it short, easy to spell, and avoid hyphens or numbers when possible. The .com extension remains the most trusted and memorable option for most websites.
Use domain registration services like Namecheap to check availability and purchase your chosen name. Domain names typically cost $10-15 per year. Many hosting companies offer free domain registration for your first year when you sign up for their services, which can save money and simplify management.
If your preferred domain is unavailable, try variations or different extensions like .net or .org, but remember that .com is still the most intuitive choice for visitors.
Step 3: Choose Your Web Hosting Provider
Web hosting is where your website files live on the internet. For beginners, shared hosting offers the best balance of affordability and functionality. Your site shares server resources with other websites, keeping costs low while providing everything most new sites need.
Research hosting providers that offer beginner-friendly features like one-click WordPress installation, 24/7 customer support, and reliable uptime. Companies like SiteGround, VeeroTech (our personal favourite and actually the web host of this website), or KnownHost provide excellent starter packages with user-friendly interfaces and comprehensive support resources.
Look for hosting plans that include SSL certificates, daily backups, and at least 10GB of storage space. Most reputable hosts offer these features in their basic plans, along with email accounts using your domain name.
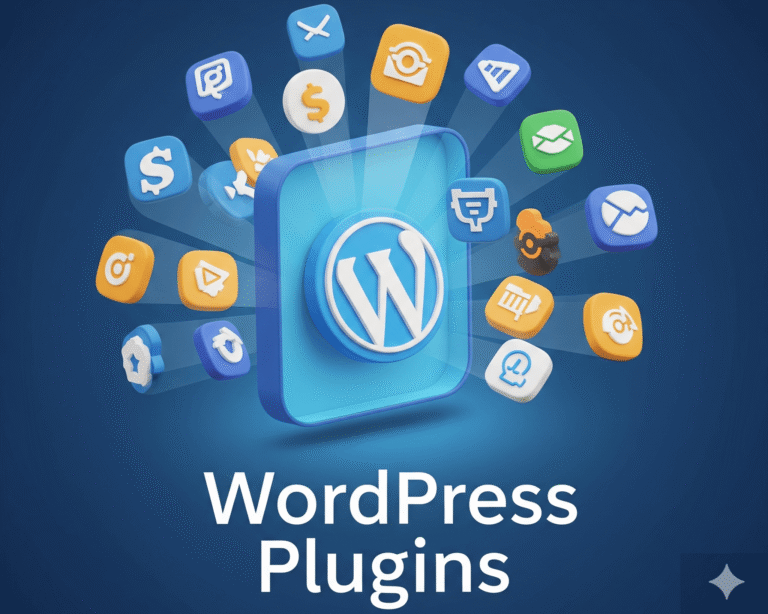
Step 4: Install WordPress or Choose a Website Builder
WordPress powers over 40% of all websites and offers the perfect balance of ease-of-use and flexibility for beginners. Most quality hosting providers offer one-click WordPress installation, meaning you can have it running in minutes without any technical knowledge.
WordPress also comes with website builder plugins, and the default WordPress actually comes with a pretty neat block editor that lets you place elements that you can easily customize and move around with no coding experience. It is often best to pick WordPress with a page builder or the Gutenburg editor out of the box with a good theme over generic website builders such as Wix or Weebly since limitations to customization and flexibility often tend to strike if the website ends up working out down the road.
WordPress gives you more long-term flexibility and typically costs less over time, while website builders offer simpler setup but with ongoing monthly fees. Choose based on your comfort level with technology and your long-term goals.
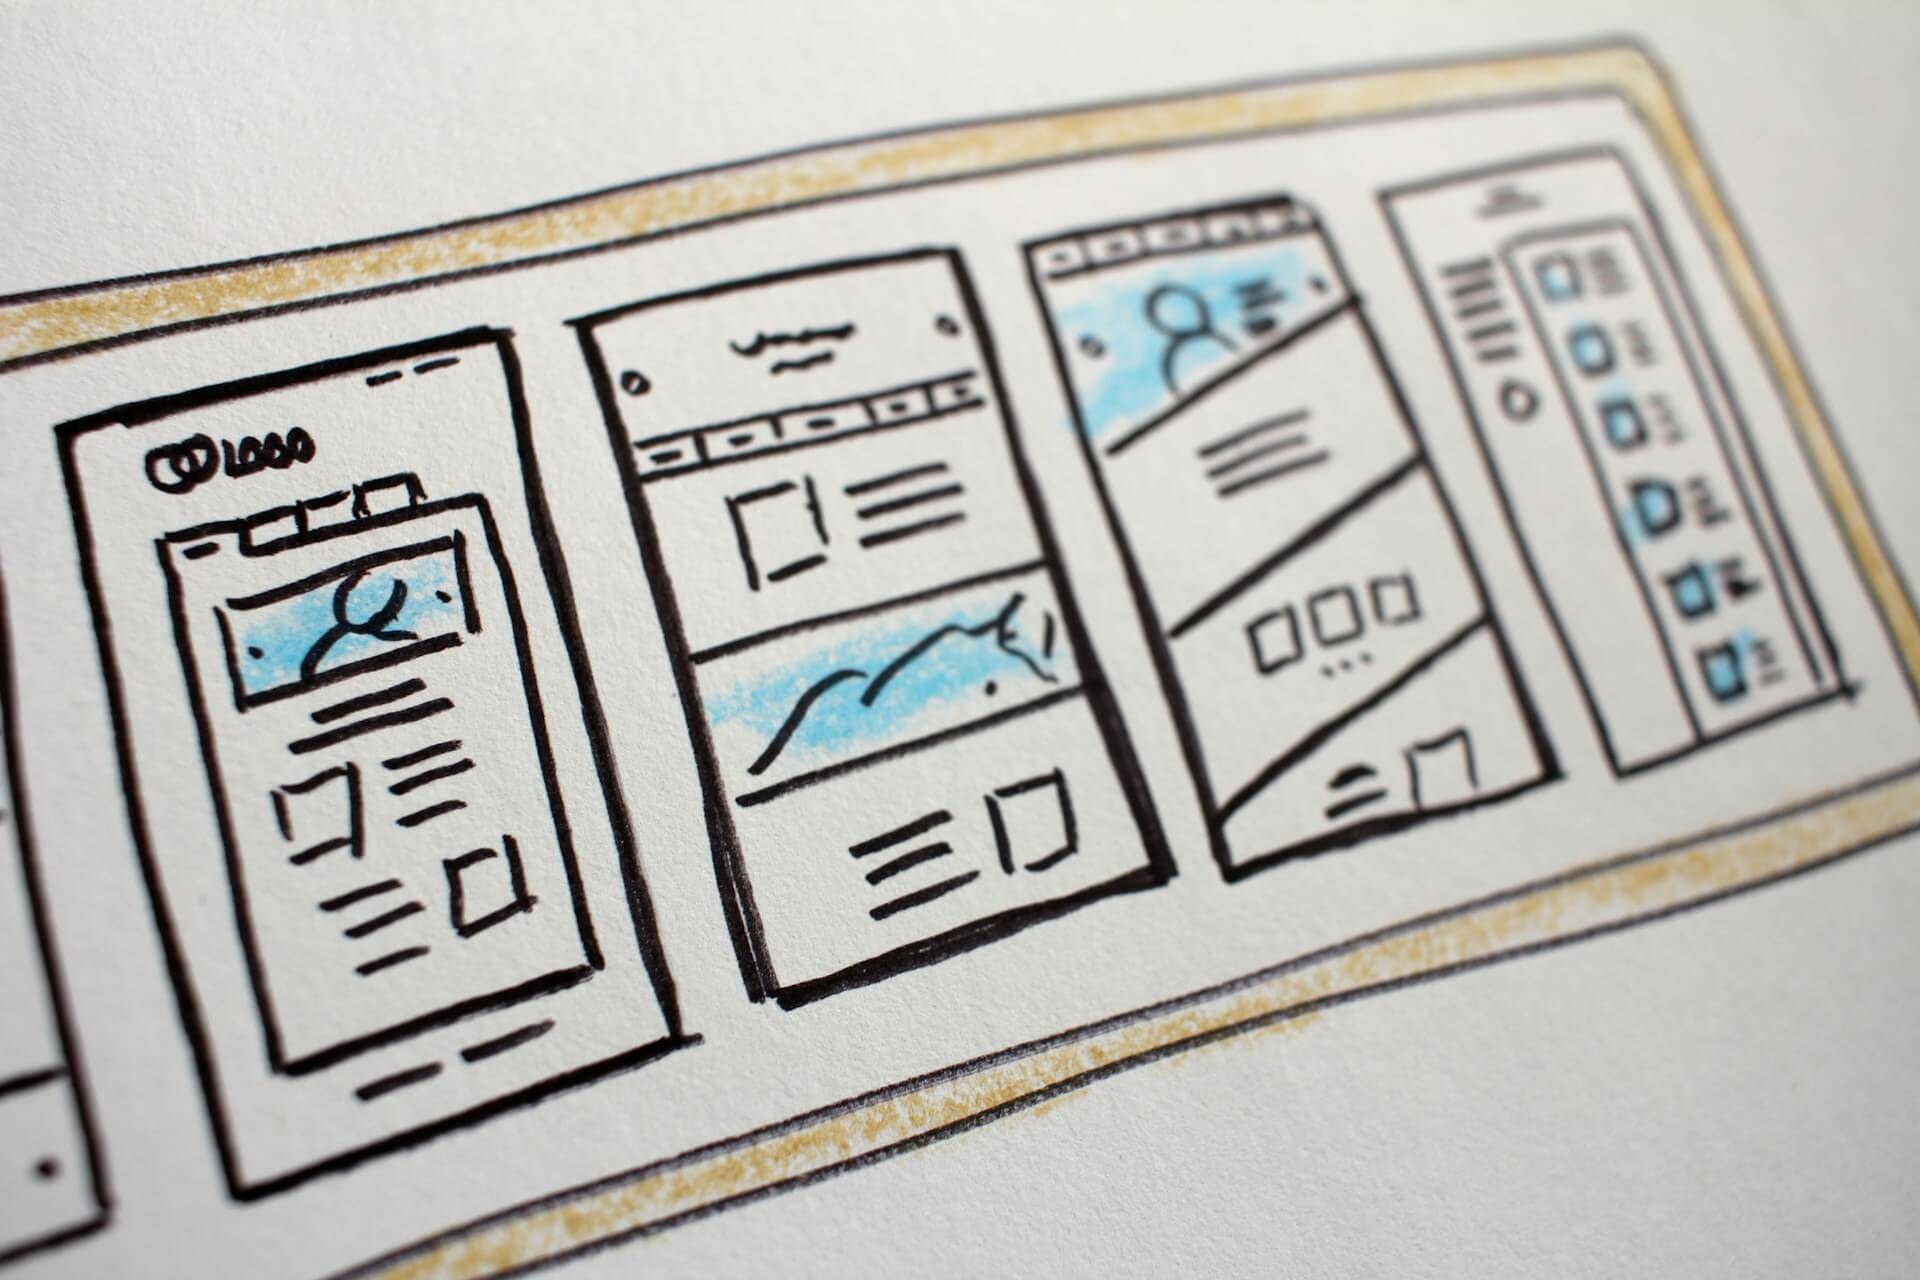
Step 5: Select and Customize Your Theme
Choose a theme or template that matches your website’s purpose and aesthetic preferences. Both WordPress and website builders offer thousands of free and premium themes designed for different industries and styles.
Don’t spend too much time agonizing over theme selection, you can always change themes later, and customization will make any theme uniquely yours. Focus on themes that are mobile-responsive, load quickly, and offer the layout flexibility you need.
Customize your chosen theme with your brand colors, fonts, and logo if you have one. Most themes allow you to modify colors, upload custom headers, and adjust layouts through user-friendly customization panels. Keep your design clean and uncluttered – white space makes your content easier to read and your site more professional.
We often recommend Astra, and Kadence for beginners as free themes to start off with. They also come with Starter Templates that can be imported easily to get you headstarted on your website.
Step 6: Create Your Essential Pages and Content
Start with your most important pages: home, about, and contact. Your home page should clearly explain what visitors can expect from your website within the first few seconds. Use compelling headlines and concise descriptions that speak directly to your target audience.
Your about page builds trust by sharing your story, qualifications, or business background. People connect with authentic, personal stories, so don’t be afraid to show personality while maintaining professionalism appropriate to your industry.
Create a contact page that makes it easy for visitors to reach you. Include a contact form, your email address, and any relevant social media links or business addresses. Contact forms protect your email from spam while encouraging visitor communication.
Write your content in a conversational tone that speaks directly to your readers. Use short paragraphs, bullet points, and subheadings to make your content easy to scan. Add high-quality images that enhance your message, ensuring you have proper rights to use any photos you didn’t create yourself. Unsplash.com offers high-quality images that can be used for free.
Step 7: Test, Launch, and Promote Your Website
Before announcing your website, test everything thoroughly. Click every link to ensure it works correctly, test your contact forms by sending yourself messages, and check how your site appears on different devices and browsers. Ask friends or family to browse your site and provide feedback, fresh perspectives often catch issues you’ve overlooked.
Once you’re satisfied with functionality and content, it’s time to launch. Share your website on your social media accounts, add the URL to your email signature, and let your professional network know about your new online presence.
Install Google Analytics to track your website’s performance and understand your visitors’ behavior. This free tool provides valuable insights that help you create better content and improve your site over time.
Remember that launching is just the beginning. Websites require regular content updates, security maintenance, and ongoing improvements based on visitor feedback and analytics data. Start with these seven steps, then gradually add features and content as you become more comfortable with website management.
Your first website doesn’t need to be perfect, it just needs to be live. You’ll learn more about web design and your audience’s preferences through experience, and you can apply these insights to make your site even better over time. The most important step is getting started and establishing your presence online where people can find and connect with you.